How to Convert PDF to PNG or JPG Images
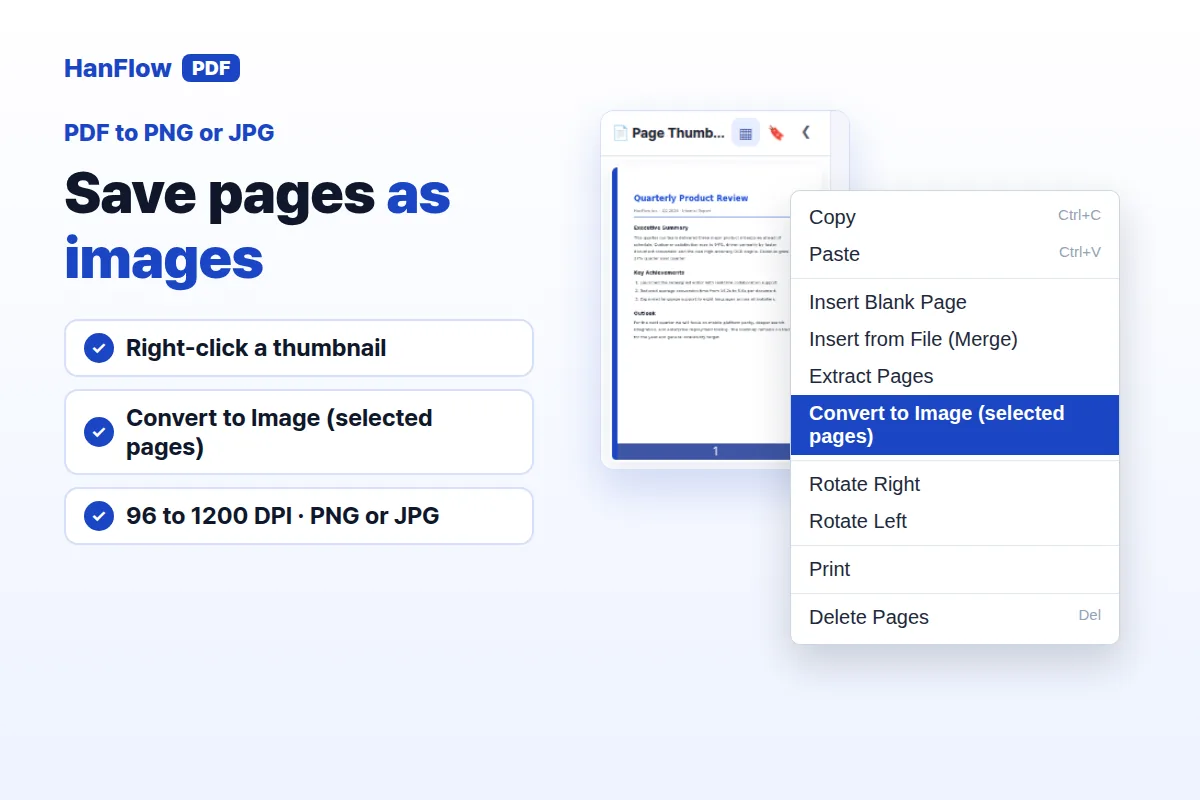
Open your PDF in HanFlow PDF, right-click a page thumbnail, and choose Convert to Image (selected pages). In the dialog, pick your resolution and format — PNG or JPG — then click Convert → Save. To convert every page at once, go to Convert → PDF → Image (.png) instead.
Convert one page or a few
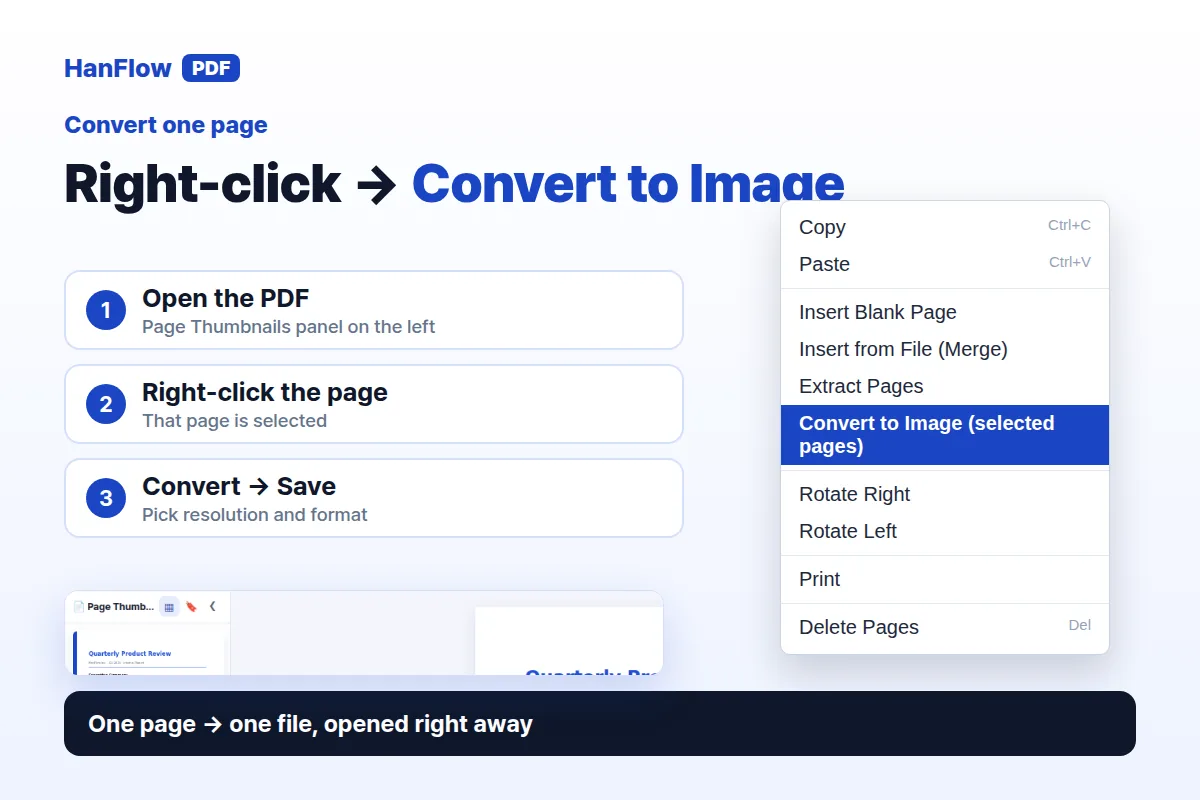
- Open the PDF in HanFlow PDF. The Page Thumbnails panel on the left shows every page.
- Click the thumbnail of the page you want to convert. To select several pages, use Shift+click for a range or Ctrl+click for individual pages.
- Right-click any selected thumbnail and choose Convert to Image (selected pages).
The PDF → Image Conversion dialog opens with the page scope set to Selected/current page. Choose your resolution and format, then click Convert → Save.
Convert every page
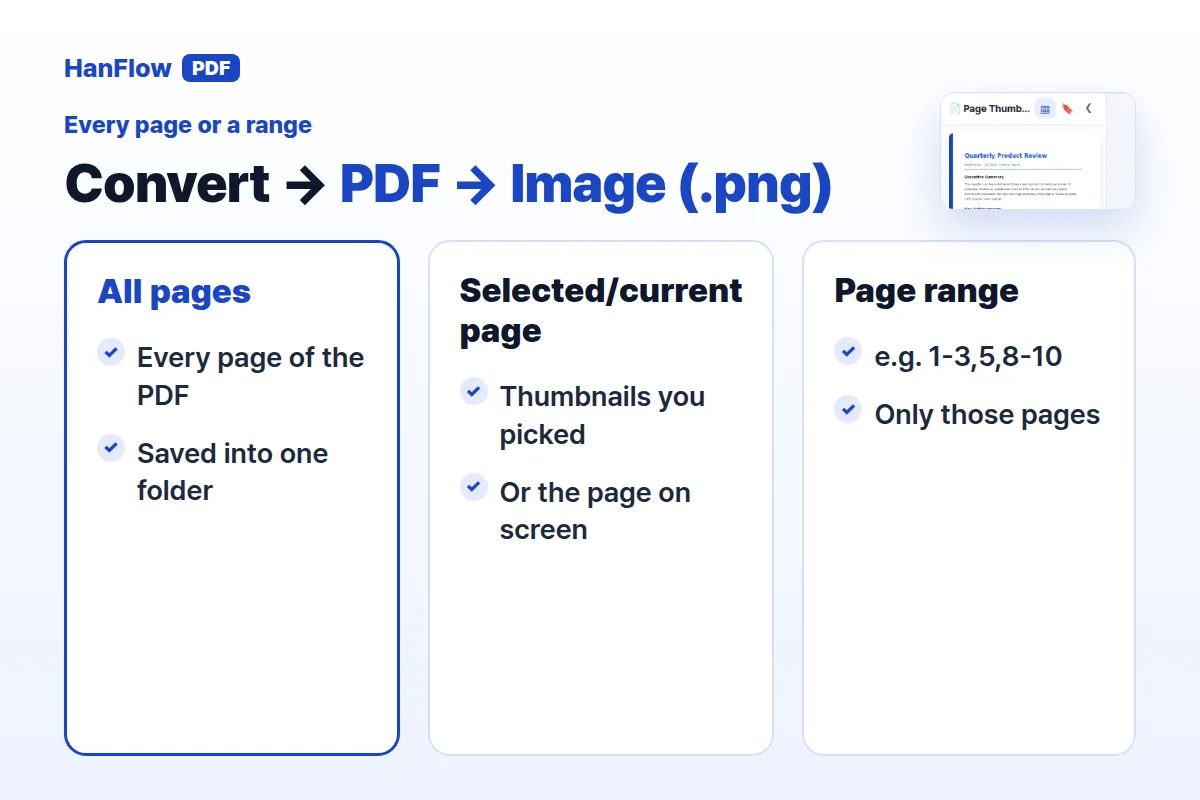
- Open the Convert menu in the toolbar.
- Choose PDF → Image (.png).
The same PDF → Image Conversion dialog opens, this time set to All pages. You can switch to Page range and type specific pages — for example 1-3,5,8-10 — if you don't need every page but don't want to select thumbnails one by one.
Click Convert → Save and every page in the range becomes a separate image file.
Pick resolution
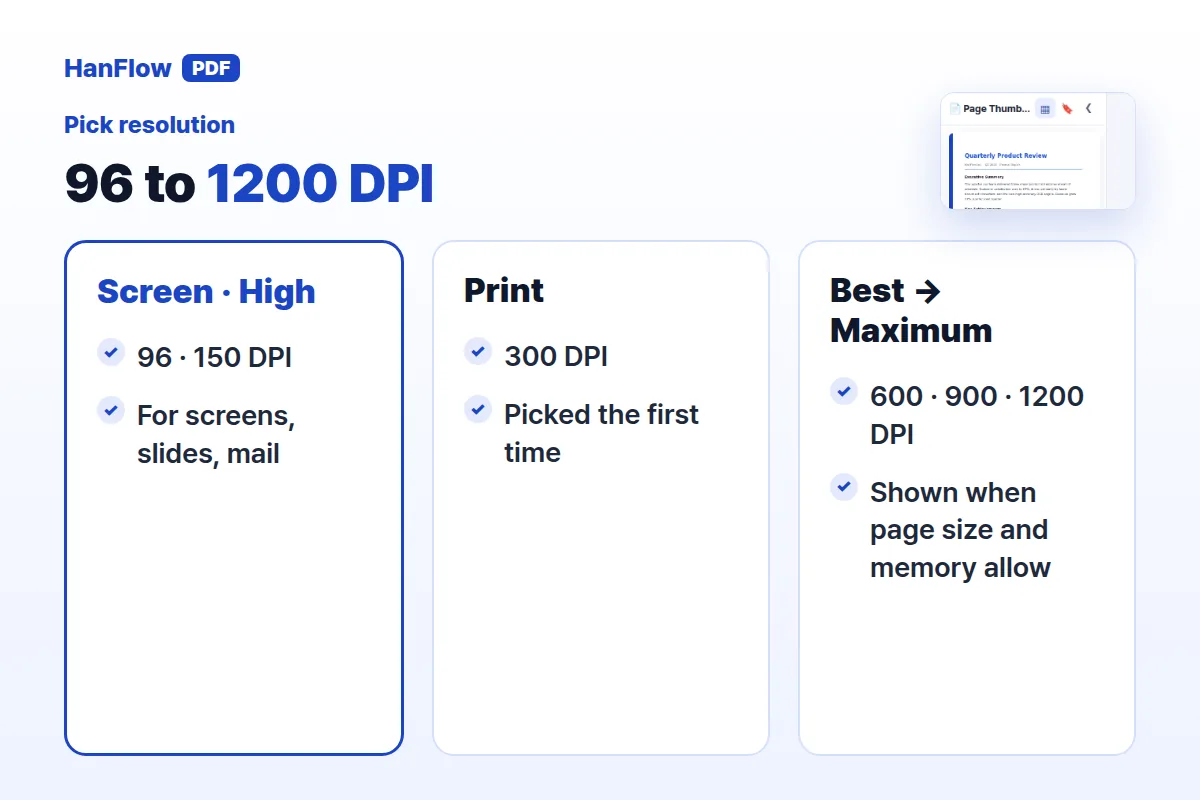
The Resolution dropdown controls image sharpness and file size. Six options are available:
- Screen (96 DPI)
- High (150 DPI)
- Print (300 DPI) — selected the first time you open the dialog, when the page size allows it.
- Best (600 DPI)
- Ultra high (900 DPI)
- Maximum (1200 DPI)
Higher values give sharper images and larger files. After the first time, the dialog starts at the resolution you used last.
The list only shows values that fit the document's page size and your PC's free memory. Large pages may not offer the highest values — if Maximum (1200 DPI) is missing, that is why.
PNG or JPG, color or grayscale
Two format choices sit in the dialog:
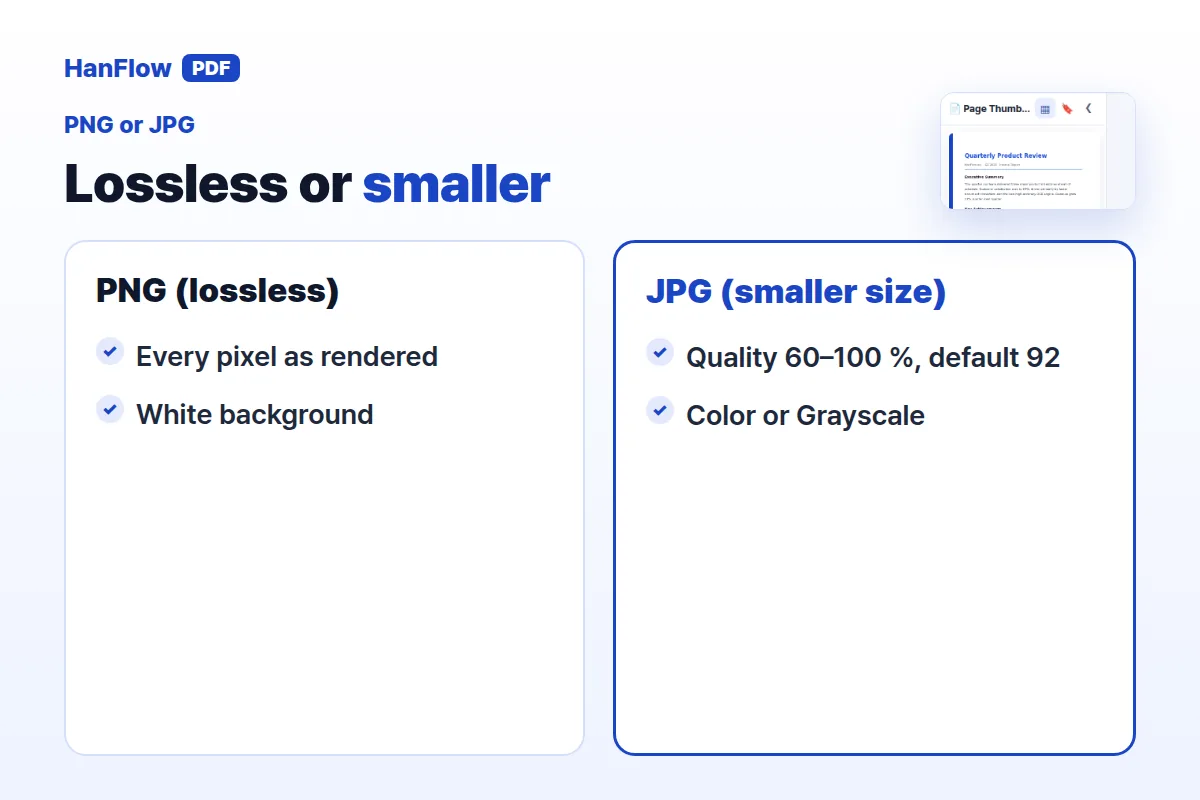
PNG (lossless) keeps every pixel exactly as rendered. File sizes are larger, but nothing is compressed away.
JPG (smaller size) produces smaller files. When you select JPG a Quality slider appears — drag it between 60 % and 100 %. The default is 92 %.
Under Color, choose Color or Grayscale.
All images are drawn on a white background. Transparent PNG is not supported.
The dialog remembers your last resolution, format, color and quality, so you only need to set them once.
Where the images go
After you click Convert → Save, a save window asks where to put the result. What you get depends on how many pages you converted.
- One page produces one image file. The file opens right away.
- Several pages are saved into a folder — the suggested folder name is the PDF's file name. The folder opens when the conversion finishes.
A message confirms the format, DPI and number of images created.
Edits you made in HanFlow PDF, such as annotations, are included in the exported images. If the PDF was password-protected, the images reflect the unlocked version you see on screen.
Frequently asked questions
What DPI should I use?
For images that will only appear on screen — slides, emails, web pages — Screen (96 DPI) or High (150 DPI) is enough. For printing, choose Print (300 DPI). Higher values produce sharper output but much larger files.
Can I get a transparent PNG?
No. Every image is drawn on a white background. There is no transparency option.
Why is 1200 DPI missing from the list?
The dialog hides resolution values that would exceed your PC's available memory given the page size. Try closing other programs to free memory, or use a lower DPI.
Can I convert only some pages?
Yes, two ways. Right-click selected thumbnails and choose Convert to Image (selected pages) to convert just those pages. Or open the dialog through Convert → PDF → Image (.png) and switch the page scope to Page range — type the pages you need, for example 1-3,5,8-10.
HanFlow PDF is a PDF program for Windows with a one-month trial, then a licence.