Compress PDF — Reduce File Size in a Few Clicks
Compress a PDF to make it smaller for email or upload. The result is a new file with reduced photo sizes — text, tables, and line drawings stay untouched.
Where it works
| Where to find it | Plan | ||
|---|---|---|---|
| Windows app | Tools › Reduce File Size (Compress) | 30-day trial, then a license | Only photos are reduced — text, tables and line drawings stay as they are. |
| Mac app | Tools › Reduce File Size (Compress) | 30-day trial, then a license | Only photos are reduced — text, tables and line drawings stay as they are. |
| Phone & web app | Tools › Optimize document size | Pro | Only photos are reduced — text, tables and line drawings stay as they are. |
Steps
- Open a PDF in Hanflow PDF.
- Go to Tools › Reduce File Size (Compress) on the Windows app or Mac app, or Tools › Optimize document size on the Phone & web app.
- Pick a compression level. "Standard reduction" keeps screen and print quality. "Reduce more" produces a smaller file suited to email.
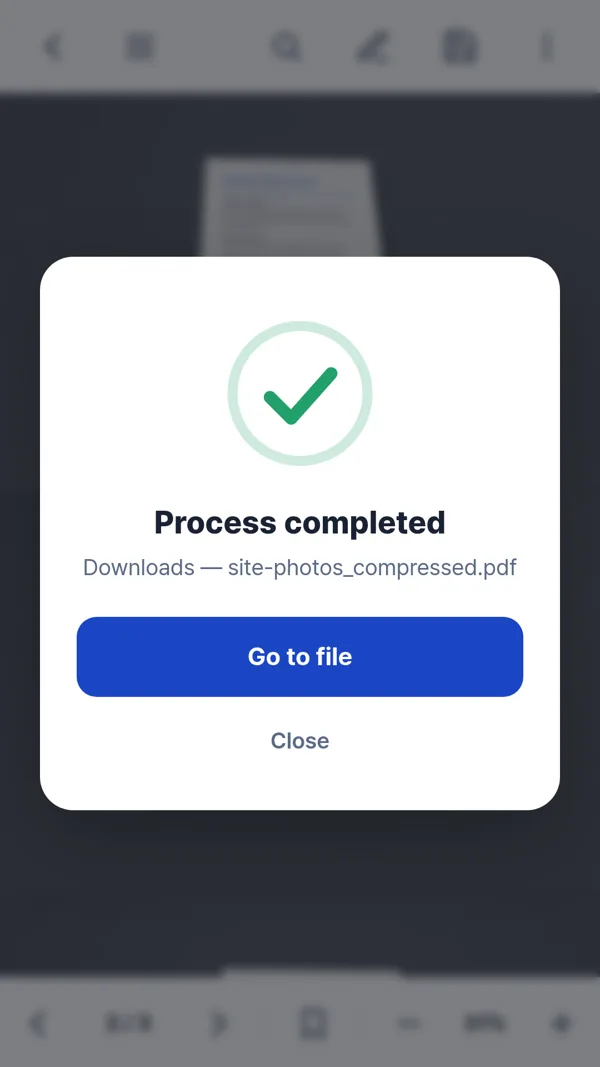
- The compressed file is saved automatically. On the Windows app and Mac app, it appears as
_Reduced.pdfin the same folder. On the Phone & web app, the size before and after is shown on screen.
FAQ
What parts of the PDF are actually compressed?
Only photos are reduced — text, tables and line drawings stay as they are. If your PDF is mostly text with few photos, the size difference will be small.
Where is the compressed file saved?
On the Windows app and Mac app, the file is saved in the same folder as the original, with _Reduced added to the name. If that folder is read-only, it goes to the Documents folder instead. On the Phone & web app, the result is saved with the file size before and after shown on screen.
What is the difference between the two compression levels?
"Standard reduction" resamples photos while keeping enough detail for screen viewing and printing. "Reduce more" compresses photos further, producing a smaller file that works well for email attachments.